

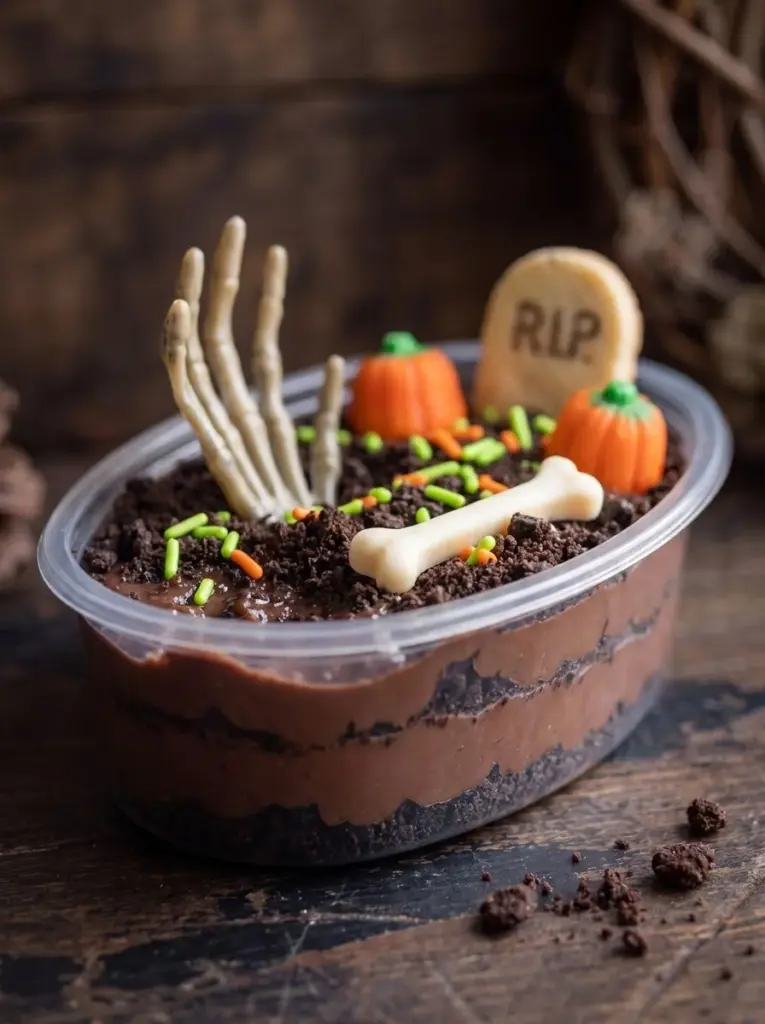
These Halloween Graveyard Dirt Cups are a delightful treat that combines layers of rich chocolate pudding with crushed chocolate sandwich cookies, creating a spooky yet delicious dessert. Perfect for Halloween parties, school events, or family gatherings, these cups are not only visually appealing but also incredibly easy to make. With fun candy decorations to top them off, they are sure to be a hit among kids and adults alike!
Why You’ll Love This Recipe
- Easy to Prepare: This no-bake dessert requires minimal effort and is ready in just 15 minutes, perfect for busy schedules.
- Fun Presentation: The spooky graveyard theme adds a festive touch to any Halloween celebration, making it an eye-catching centerpiece.
- Customizable: You can easily swap out decorations or add your favorite candies to personalize each cup.
- Delicious Layers: The combination of creamy chocolate pudding and crunchy cookie crumbs creates a delightful texture contrast that everyone will love.
- Perfect for Kids: Children will enjoy helping assemble the cups and decorating them with their favorite spooky treats.
Tools and Preparation
Before you start making these Halloween Graveyard Dirt Cups, gather the necessary tools. Having everything ready will streamline the process and make it more enjoyable.
Essential Tools and Equipment
- Clear individual dessert cups or containers
- Food processor or rolling pin
- Large mixing bowl
- Whisk
- Resealable plastic bag
Importance of Each Tool
- Clear individual dessert cups: These allow you to showcase the beautiful layers of pudding and cookie crumbs, enhancing the visual appeal.
- Food processor or rolling pin: Essential for crushing cookies quickly and evenly; saves time in preparation.
Ingredients
These spooky Halloween Graveyard Dirt Cups feature layers of rich chocolate pudding and crushed chocolate sandwich cookies, topped with fun and eerie candy decorations to create a delicious and festive treat perfect for any Halloween gathering.
For the Cups
- 1 (14.3-ounce) package chocolate sandwich cookies
- 2 (3.9-ounce) packages instant chocolate pudding mix
- 4 cups cold milk
For Decorations
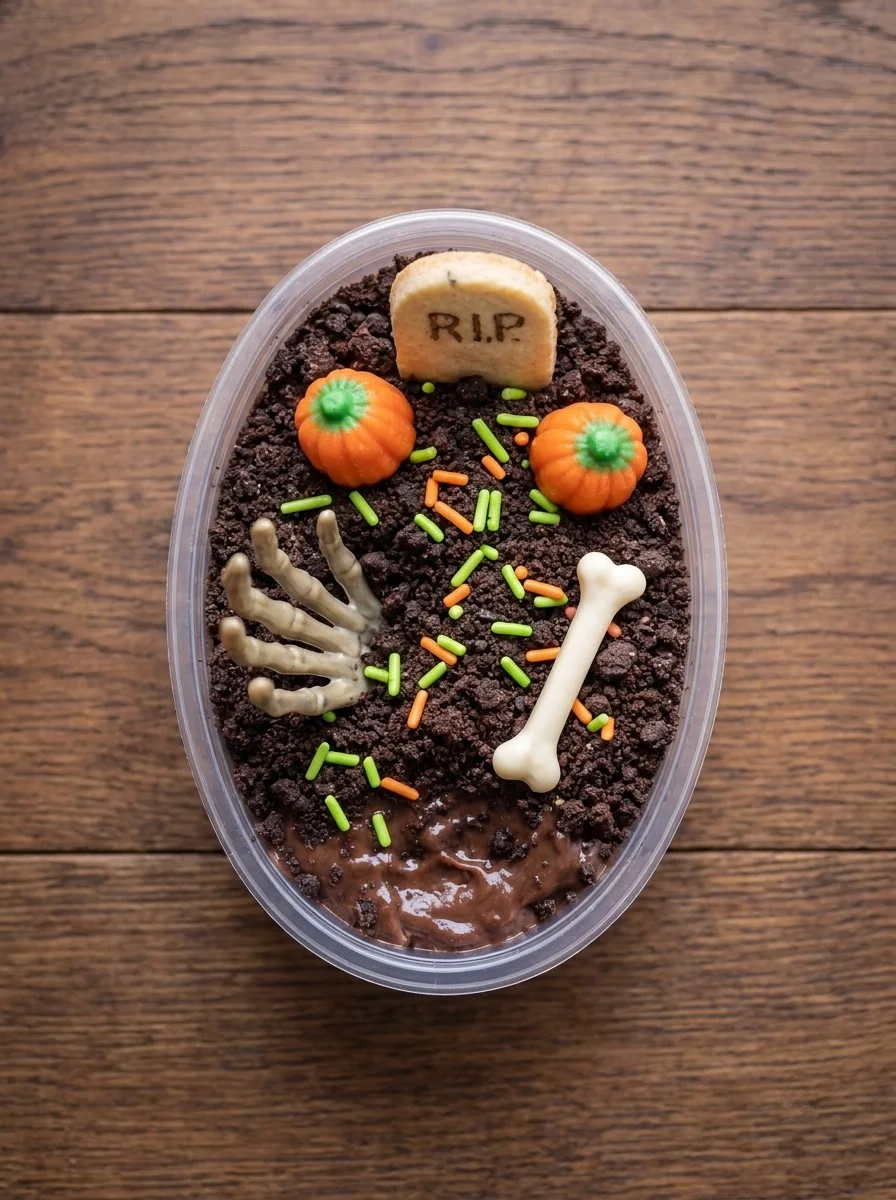
- Halloween candy decorations, such as plastic skeleton hands, candy bones, candy pumpkins, cookie tombstones, and green and orange sprinkles
How to Make Halloween Graveyard Dirt Cups
Step 1: Crush the Cookies
Crush the chocolate sandwich cookies into fine crumbs. This can be done in a food processor or by placing them in a resealable plastic bag and crushing them with a rolling pin. Set aside.
Step 2: Prepare the Pudding
In a large mixing bowl, whisk together the instant chocolate pudding mix and cold milk for 2 minutes until thickened. Let it stand for 5 minutes to fully set.
Step 3: Assemble the Cups
To assemble the dirt cups:
1. Place approximately 2 tablespoons of crushed cookies at the bottom of each of six clear individual dessert cups.
2. Spoon about 1/4 cup of prepared chocolate pudding over the cookie layer in each cup.
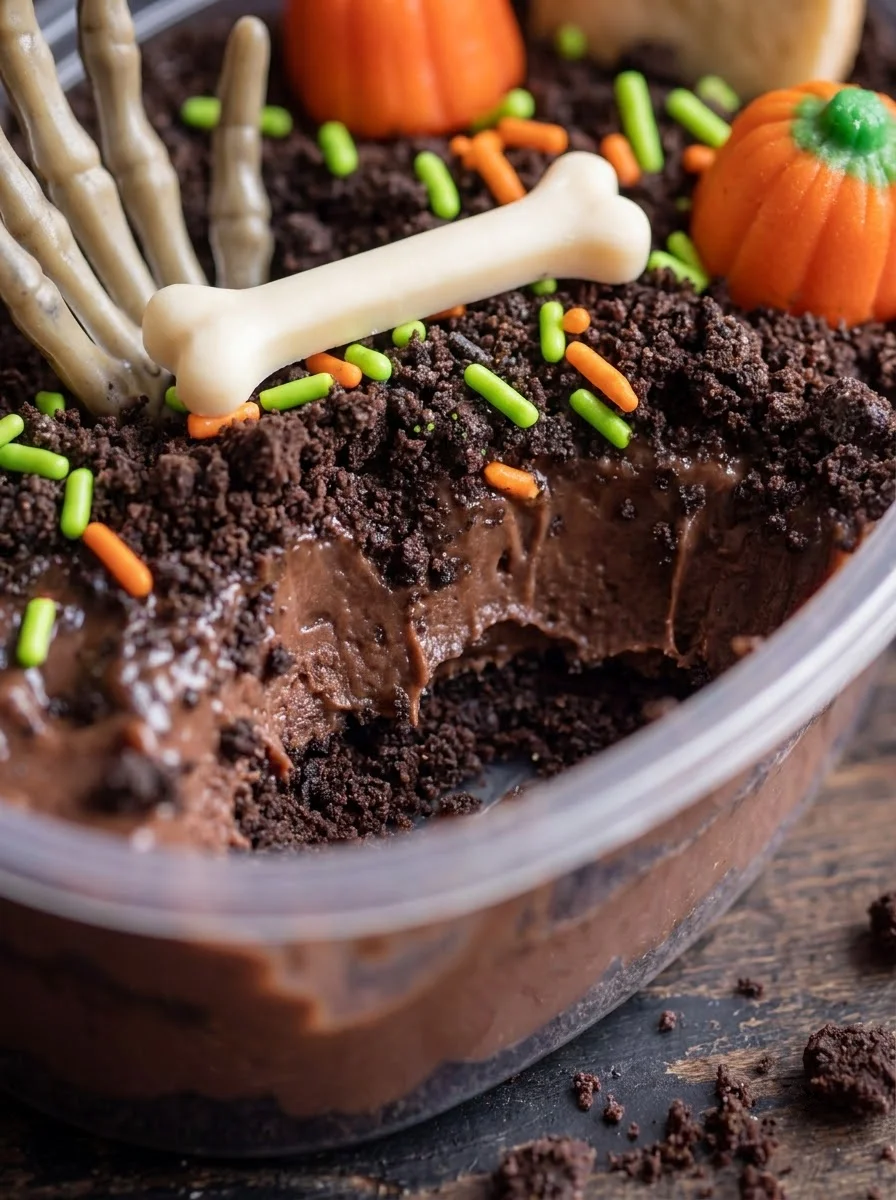
3. Repeat this layering process—add another layer of crushed cookies followed by another layer of pudding—until the cups are nearly full.
Step 4: Add Final Touches
End with a layer of crushed cookies on top to resemble dirt. Decorate each dirt cup using your selected Halloween candy decorations. Arrange plastic skeleton hands, candy bones, candy pumpkins, cookie tombstones, and green and orange sprinkles creatively.
Step 5: Chill Before Serving
Chill the Halloween Graveyard Dirt Cups in the refrigerator for at least 30 minutes before serving. This step ensures that the pudding is thoroughly set and cold for a refreshing treat!
How to Serve Halloween Graveyard Dirt Cups
Serving Halloween Graveyard Dirt Cups can be a delightful experience for both kids and adults alike. These spooky treats are perfect for Halloween parties, gatherings, or simply as a fun dessert at home. Here are some creative serving suggestions:
Individual Dessert Cups
- Use clear cups or jars to showcase the layered dessert. This allows guests to admire the beautiful “dirt” layers and candy decorations.
Family-Style Bowl
- For a more communal approach, consider assembling the dirt cups in a large bowl. Guests can scoop their servings, making it interactive and fun.
Themed Table Settings
- Pair the dirt cups with themed tableware such as skull plates or Halloween napkins. This enhances the festive atmosphere of your celebration.
Accompanying Drinks
- Serve with themed drinks like “witches’ brew” punch or orange soda to complement the spooky vibe of your dessert.
Party Favors
- Package individual cups as party favors for guests to take home. Wrap them with cellophane and tie with Halloween-themed ribbons for a special touch.
Garnish Options
- Add extra candy decorations around the base of each cup for an even spookier look. Consider using gummy worms or edible glitter for added flair.
How to Perfect Halloween Graveyard Dirt Cups
To ensure your Halloween Graveyard Dirt Cups turn out perfectly every time, keep these tips in mind:
- Use quality ingredients: Choose high-quality chocolate pudding mix and cookies for richer flavors.
- Crush evenly: Make sure to crush your cookies into fine crumbs to create layers that resemble real dirt.
- Layer carefully: Take your time layering the pudding and cookie crumbs for an appealing visual effect in each cup.
- Chill adequately: Allow enough chilling time before serving; this helps flavors meld and ensures the pudding sets properly.
- Get creative with toppings: Don’t hesitate to mix in various candy decorations or even edible flowers for a unique twist.
- Make it ahead: Prepare the cups a day in advance, allowing flavors to develop while saving you time on the day of your event.
Best Side Dishes for Halloween Graveyard Dirt Cups
Pairing side dishes with your Halloween Graveyard Dirt Cups can elevate your dessert experience. Here are some great options:
- Spooky Sliders: Mini burgers shaped like pumpkins or ghosts make for a fun finger food option that complements sweet treats.
- Witch’s Brew Soup: A creamy green soup garnished with ghost-shaped croutons adds a savory element to balance the sweetness of the dirt cups.
- Monster Veggie Platter: Arrange an assortment of vegetables in creepy shapes, served with hummus or dip for a healthy snack option.
- Bloody Eyeball Pasta: Spaghetti served with tomato sauce and mozzarella balls designed to look like eyeballs is sure to get some laughs!
- Ghostly Pizza Bites: Mini pizzas topped with ghost-shaped cheese create a festive addition that kids will love.
- Frankenstein Fruit Kabobs: Skewers filled with green grapes, melon balls, and strawberries provide a colorful, healthy side dish option.
- Devilish Deviled Eggs: Enhance traditional deviled eggs by adding black olives on top to resemble spiders for a spooky twist.
- Candy Corn Jell-O Cups: Layered Jell-O resembling candy corn adds another fun dessert element while keeping up with the Halloween theme.
Common Mistakes to Avoid
When crafting your Halloween Graveyard Dirt Cups, there are a few common pitfalls to watch for.
- Overcrushing cookies: Crushing the chocolate sandwich cookies too finely can lead to a paste rather than a crumbly texture. Aim for small, even crumbs for the best layer effect.
- Skipping the chilling step: Not chilling the cups before serving may result in runny pudding. Allow at least 30 minutes in the fridge to ensure everything sets properly.
- Using warm milk: Using milk that is not cold can affect the thickness of your pudding. Always use cold milk to achieve that perfect creamy texture.
- Neglecting decoration details: Forgetting to add fun decorations can make your dirt cups less festive. Get creative with Halloween candies to enhance the spooky vibe.
- Inconsistent layering: Layering uneven amounts of pudding and cookie crumbs can lead to unbalanced cups. Measure out each layer carefully for a better presentation.
Refrigerator Storage
- Store in airtight containers to keep them fresh.
- Halloween Graveyard Dirt Cups can last up to 3 days in the refrigerator.
Freezing Halloween Graveyard Dirt Cups
- While it’s possible to freeze these cups, they may lose their texture once thawed.
- If you choose to freeze them, store in freezer-safe, airtight containers.
- Consume within 1 month for best quality.
Reheating Halloween Graveyard Dirt Cups
- Oven: Not recommended as it may alter the dessert’s texture.
- Microwave: Avoid microwaving directly; let them thaw in the fridge overnight instead.
- Stovetop: Not applicable; this dessert is served cold.
Frequently Asked Questions
What are Halloween Graveyard Dirt Cups?
Halloween Graveyard Dirt Cups are a fun and festive dessert made with layers of chocolate pudding and crushed cookies, topped with spooky candy decorations.
How long do Halloween Graveyard Dirt Cups last?
When stored properly in an airtight container, they can last up to 3 days in the refrigerator.
Can I customize my Halloween Graveyard Dirt Cups?
Absolutely! You can personalize these cups with various candies or even add different flavored pudding mixes for a unique twist.
What should I use for decorations on my dirt cups?
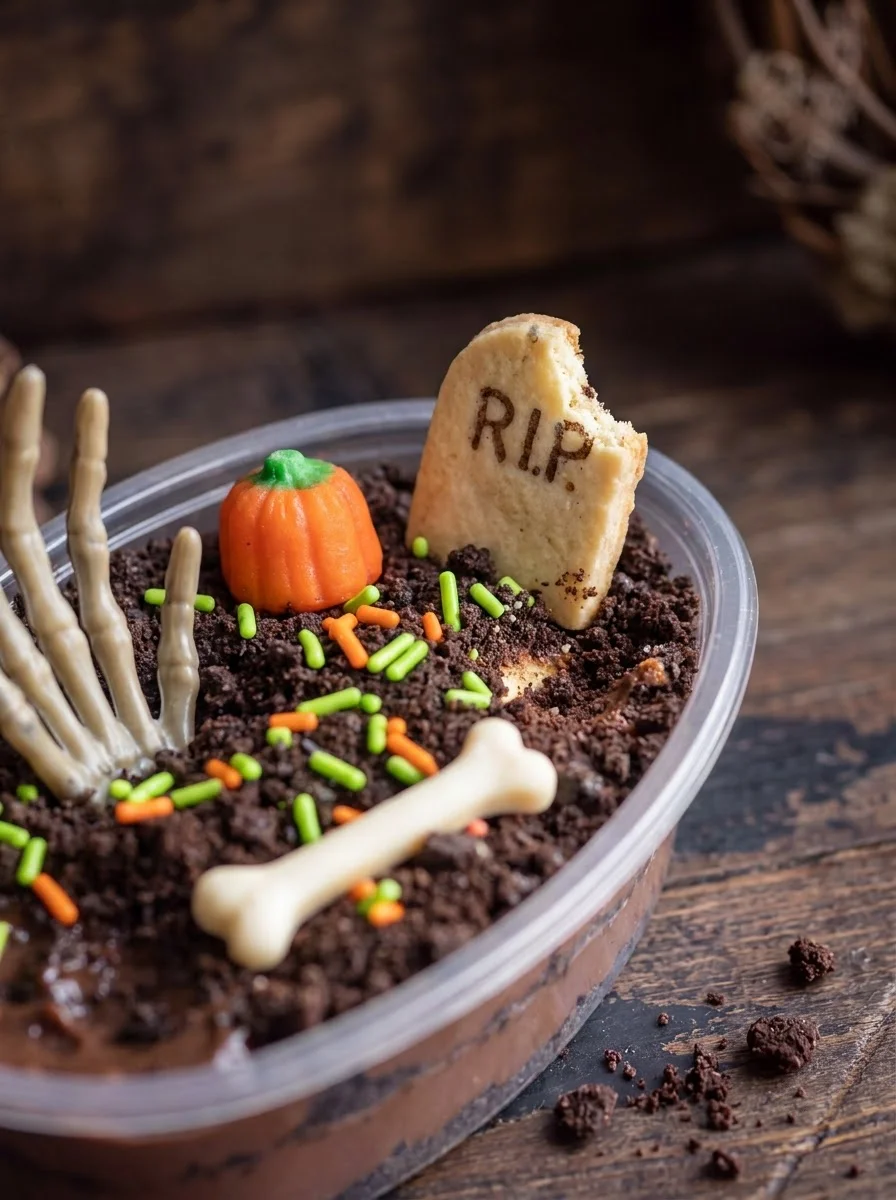
Use Halloween-themed candies like plastic skeleton hands, candy bones, tombstone cookies, and sprinkles for a fun graveyard look!
Final Thoughts
Halloween Graveyard Dirt Cups are not only delightful but also versatile treats that cater to all ages. Whether you’re planning a party or simply want a spooky dessert at home, these cups can be easily customized with your favorite candies. Try them out and enjoy creating a deliciously eerie experience!
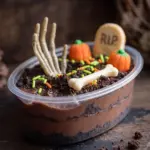
Halloween Graveyard Dirt Cups
- Total Time: 0 hours
- Yield: Serves 6
Description
Indulge in the spooky delight of Halloween Graveyard Dirt Cups, a fun and festive dessert that combines rich layers of chocolate pudding and crushed chocolate sandwich cookies. Perfect for Halloween parties or family gatherings, these cups are sure to enchant guests of all ages. With an easy no-bake preparation that takes just 15 minutes, you can whip up this creative treat in no time. Decorate each cup with playful candy skeletons, tombstones, and sprinkles for a visually striking presentation that captures the spirit of Halloween.
Ingredients
- 1 (14.3-ounce) package chocolate sandwich cookies
- 2 (3.9-ounce) packages instant chocolate pudding mix
- 4 cups cold milk
- Halloween candy decorations (plastic skeleton hands, candy bones, cookie tombstones)
Instructions
- Crush the chocolate sandwich cookies into fine crumbs using a food processor or by rolling them in a resealable bag.
- In a large mixing bowl, whisk together the instant chocolate pudding mix and cold milk for 2 minutes until thickened; let it sit for 5 minutes.
- Layer approximately 2 tablespoons of crushed cookies at the bottom of clear dessert cups, followed by about 1/4 cup of pudding.
- Repeat the layering process until the cups are nearly full, finishing with a cookie layer on top.
- Decorate with Halloween-themed candies and chill for at least 30 minutes before serving.
- Prep Time: 15 minutes
- Cook Time: None
- Category: Dessert
- Method: No-bake
- Cuisine: American
Nutrition
- Serving Size: 1 serving
- Calories: 280
- Sugar: 22g
- Sodium: 270mg
- Fat: 12g
- Saturated Fat: 5g
- Unsaturated Fat: 6g
- Trans Fat: 0g
- Carbohydrates: 38g
- Fiber: 1g
- Protein: 4g
- Cholesterol: 10mg
Leave a Comment